


Introduction
BeamNG.drive stands apart from other driving games because of its soft-body physics system, which simulates every panel, joint, and weld in real time. While most players enjoy free roaming or racing, the true hallmark of the game is its unmatched approach to vehicle deformation. Yet, many drivers don’t fully understand how the system works, how to control it, or how to experiment with it for testing, fun, or content creation. This article explores one specific issue in depth: mastering crash physics in BeamNG.drive. We’ll cover how the system evolved, how to use it effectively, and how to build structured crash tests. By the end, you’ll have a 360-degree understanding of BeamNG’s physics model and how to leverage it for skill and creativity.
The Origins of BeamNG’s Soft-Body Physics
BeamNG’s unique deformation system is powered by nodes and beams—points of force connected in a web to replicate the physical skeleton of a car. Every crash isn’t a pre-rendered animation but a calculation of how forces act across thousands of connections.
Originally, this system was designed to help engineers visualize stress points. Over time, the developers realized it also created a fun, chaotic, and educational sandbox. Understanding the backbone of this system helps players appreciate why cars fold, bend, or crumple differently in similar accidents.
Why it matters
- Every crash is unique, influenced by speed, angle, and object hit
- Vehicles aren’t “skins” but dynamic structures
- Small input differences create entirely different outcomes
How to Conduct a Basic Crash Test
The Gridmap is the perfect playground for beginners. Its blank design and obstacles allow simple experiments. Start with a standard sedan and crash it into a wall at increasing speeds: 30 mph, 50 mph, 70 mph. Observe how deformation scales with impact.
Next, vary the angle. A head-on collision differs significantly from a glancing blow at 30 degrees. These controlled changes are the foundation for mastering crash physics.
Basic test steps
- Pick a consistent vehicle
- Choose a fixed obstacle
- Change only one variable (speed, angle, surface)
The Role of Speed in Deformation
Speed is the most obvious variable. Doubling speed doesn’t double force—it quadruples it. That’s why a 30 mph bump bends a bumper, while 120 mph obliterates a frame.
Testing at incremental speeds builds intuition. Over time, you’ll recognize at what velocity specific car parts begin to fail—whether it’s hoods crumpling, windshields shattering, or suspensions collapsing.
Speed guide
- 20–40 mph: Cosmetic dents
- 50–70 mph: Frame deformation, radiator damage
- 100+ mph: Total loss, cabin collapse likely
Angle of Impact and Structural Weakness
Not all crashes are straight lines. Angles distribute forces differently. A side collision crumples doors but often leaves the engine intact. A rear-end crash may spare the driver but destroy the trunk.
Learning how force travels through a car’s skeleton reveals hidden weaknesses. For example, sports cars with stiff frames resist bending head-on but buckle dramatically in side hits.
Common angle effects
- Head-on: Engine bay collapse
- Side: Passenger risk, uneven crumpling
- Rear: Trunk deformation, axle shift
Terrain and Object Interaction
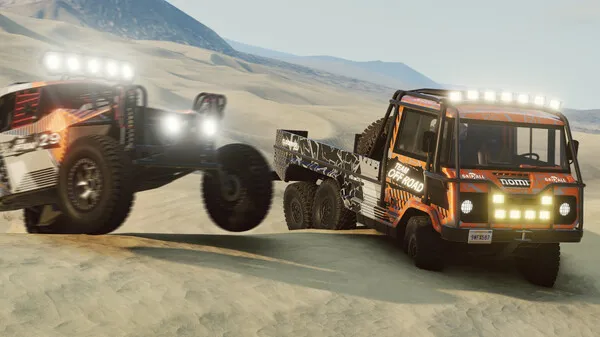
BeamNG’s maps add complexity through varied surfaces and objects. Sand, mud, and snow reduce friction, changing how momentum transfers in a crash. Trees, rocks, and barriers interact differently depending on size and rigidity.
Crashing into a narrow pole often does more dramatic deformation than hitting a flat wall, as energy focuses on a single contact point. Players who test these interactions gain insight into real-world crash dynamics.
Object impact types
- Poles: Localized puncture damage
- Walls: Broad, predictable crumpling
- Guardrails: Prolonged scraping, rollover potential
How Vehicle Design Shapes Deformation
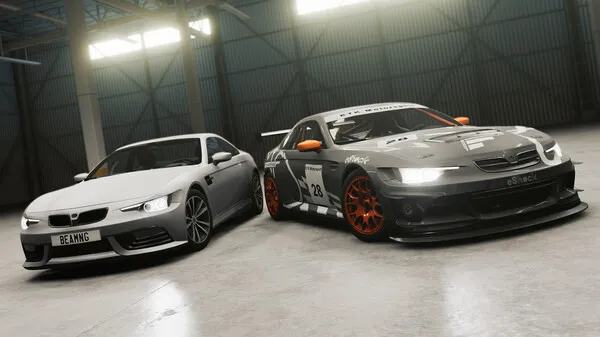
Each vehicle in BeamNG has unique crash behavior. Trucks with ladder frames absorb force differently than sedans with unibody designs. Sports cars with stiff chassis resist bending but transfer more energy to passengers.
Experimenting with multiple vehicles across the same test reveals how design philosophy alters outcomes. This is key for modders or players who want realistic testing scenarios.
Vehicle categories
- Sedans: Balanced crumple zones
- Trucks: Strong frames, weak cabins
- Sports cars: Stiff chassis, brittle at high speed
Using Slow Motion to Analyze Crashes
One of BeamNG’s most powerful tools is slow-motion playback. Watching frame-by-frame shows how forces ripple across beams.
You’ll notice the moment suspension arms snap, bumpers fold, or frames twist. This helps you identify weak points and understand how forces compound. Content creators often use slow motion to dramatize crashes, but it’s equally useful for educational analysis.
Benefits of slow motion
- Spot early failure points
- Study chain reactions during deformation
- Create cinematic crash sequences
Building Structured Crash Scenarios
After basic experiments, players can create structured scenarios. For example, simulate a frontal crash test using a consistent barrier and speed for multiple vehicles, then compare outcomes.
Structured testing isn’t just fun—it’s data-driven. You can catalog results, compare mod vehicles, or recreate real-world crash tests. It also allows for competitive challenges with friends or online communities.
Scenario-building ideas
- Head-on vs. pole at 60 mph for multiple vehicles
- Side crash into barrier at 40 mph
- Rollover test with ramps and uneven terrain
Common Mistakes in Crash Testing
New players often change too many variables at once, making results inconsistent. Another mistake is ignoring tire pressure, suspension, or cargo load, which all affect outcomes.
Over-reliance on extreme crashes (200+ mph) is also misleading—realistic scenarios give better insight into physics. Learning to balance entertainment with controlled testing is part of mastering BeamNG.
Mistake list
- Mixing vehicles mid-test
- Changing multiple factors at once
- Overusing unrealistic speeds
Advanced Crash Testing with Mods and Tools
The BeamNG community offers mods that expand testing possibilities. Crash test dummies, specialized barriers, and crash halls let players mimic real safety labs.
Advanced users also script repeatable crash scenarios using Lua coding. This ensures exact consistency, allowing for precise comparisons across vehicles and conditions. Modding transforms BeamNG from sandbox fun into a professional-grade testing platform.
Advanced tools
- Modded crash labs and facilities
- AI traffic crash scenarios
- Lua scripting for automation
Conclusion
BeamNG.drive’s crash physics aren’t just about smashing cars—they’re a window into the world of engineering, safety, and simulation. By mastering variables like speed, angle, terrain, and design, you transform chaotic crashes into controlled experiments. Using slow motion, structured scenarios, and mods, players can elevate their understanding from simple fun to detailed analysis. The joy of BeamNG lies in this balance: entertainment and education fused together in every crumpled fender and twisted frame.